Injection technique for highly aesthetic full-arch restorations
This technique uses a diagnostic wax-up, either analogue or printed, which is converted into a highly aesthetic restoration. As the injection technique fits perfectly in the digital workflow, it is ideal for complicated implant cases or high-end crowns and bridges with a complex anatomy.
We use GC Gradia™ Plus, a modular composite system for indirect restorations. The light-curable, nano-hybrid composite has improved physical properties and offers a wide range of clinical applications, unsurpassed durability, natural opalescence and excellent, lifelike aesthetics.
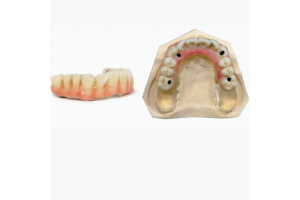
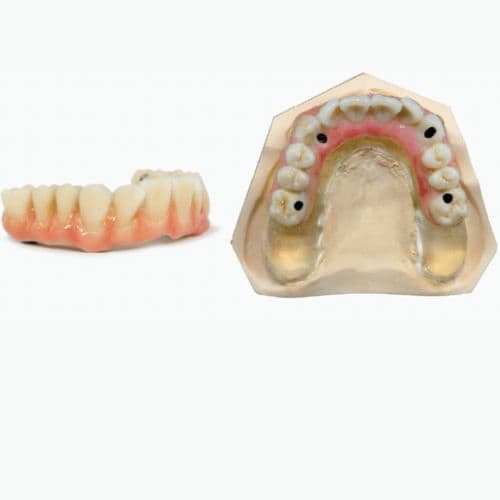
1. Model preparation
A plaster model with implant analogues is cast. GC Exaclear clear silicone material is used as a gingival mask. This will allow the polymerisation of the basal part of the injected Gradia™ Plus composite.
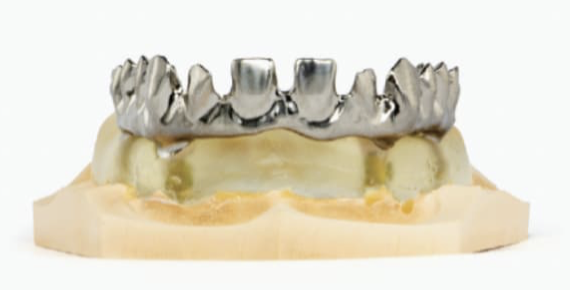
2. Digital Design
After scanning the model, a full anatomical, digital mock-up is designed and printed. The printed mock-up is fitted onto the model. The anatomical design of the mock-up was digitally reduced and milled in titanium.
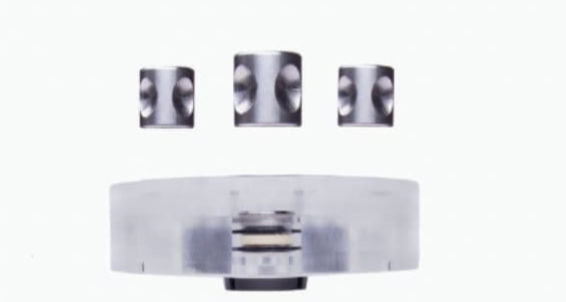
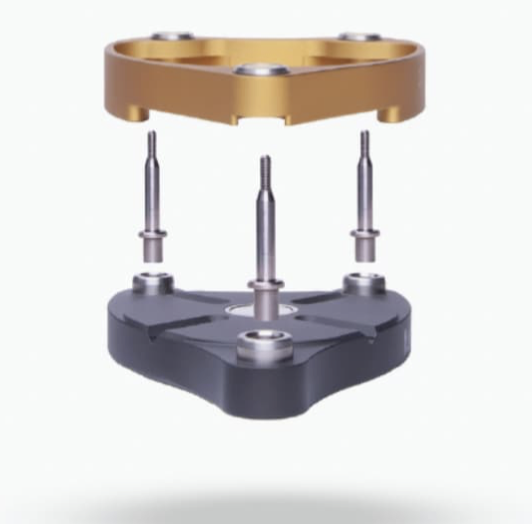
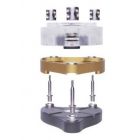
3. Flask preparation
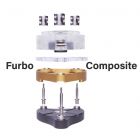
The mock-up is screwed onto the model and placed into the Vertysystem Furbo Composite flask. Screw holes are then sealed with wax and the model is fixed into the flask with putty.
4. Framework preparation
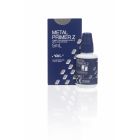
After milling, the titanium framework is prepared, sandblasted with 110 µm aluminium oxide and cleaned. METAL PRIMER Z is applied to the surface and left to dry.
A first, thin layer of opaque is applied and light cured for 1 minute. Repeat this process until the metal is completely masked.
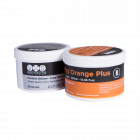
For extra individualisation, darker or lighter shades of opaque can be applied. Cervical and occlusal areas are covered with small amounts of LB-orange (red, yellow) to a warm, in-depth effect. Light cure follows.
Screw the framework on the model, close the screw holes with Teflon, and seal with wax.
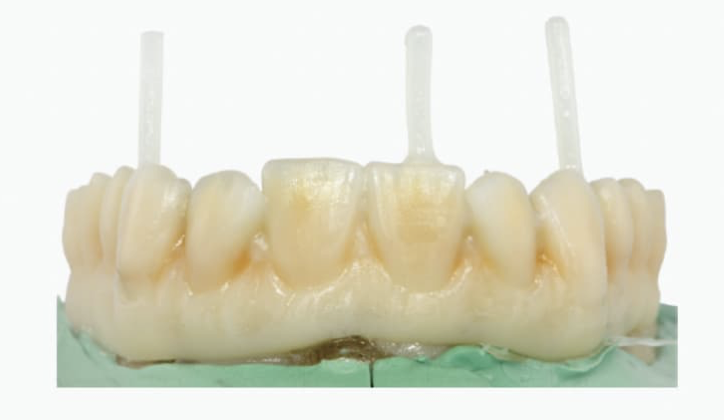
5. Injection procedure
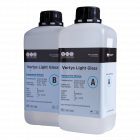
Carefully screw the top part back on the Vertysystem Furbo Composite flask and check perfect positioning. Light Body A can then be injected into the mould, starting on the most dorsal side.
Let the composite flow from sprue to sprue until it gently comes out. Carefully remove the syringe from the first channel and place a finger onto it, then place the syringe in the second channel, and repeat this process until the mould is completely filled. Light cure follows.
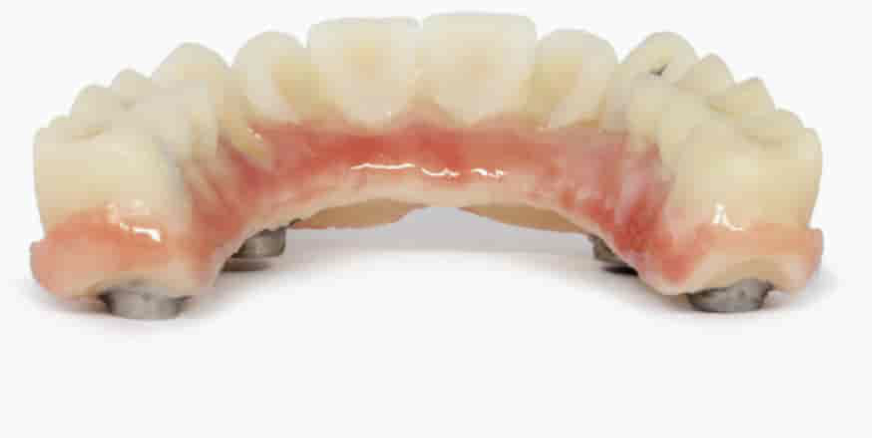
6. Gingival reproduction
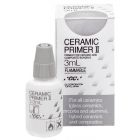
Adjust contour and shape with diamond and tungsten burs. Prepare the gingival area with dedicated burs and apply CERAMIC PRIMER II.
Gingival anatomy is reproduced using Gum Heavy Body shades for creating volume and Gum Light Body shades for characterisation.
7. Gloss and characterisation (coating method)
Gloss and characterisation can be done using the GC Gradia™ Plus Lustre Paints.
- Sandblast (1.5 bar, 50 µm).
- Immediately apply CERAMIC PRIMER II to the surface and let dry.
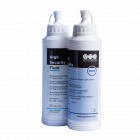
For external characterisation and gloss, GC Gradia™ Plus Lustre Paints should always be diluted using the dedicated Lustre Paint Diluting Liquid.
By diluting the Lustre Paint a lighter chroma can be created..
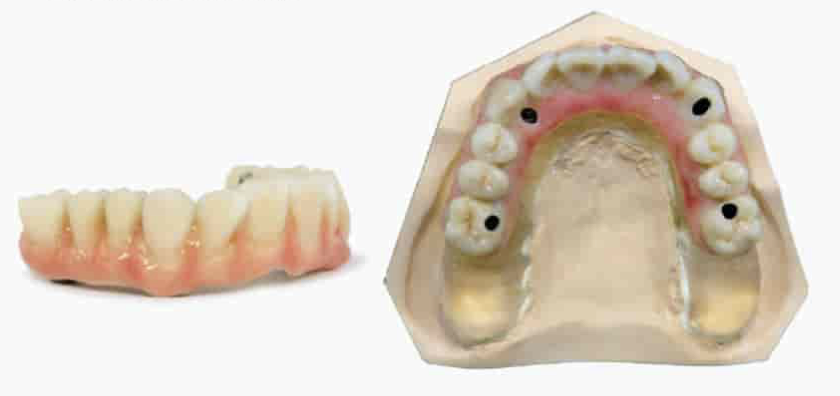
8. Final result is ready!
--> Contact us for more information
Related Products

Recent Posts